IMPORTANT WARNING: If you learn nothing else from this little course, PLEASE keep this in mind -- DO NOT -- EVER use other people's pictures from the internet without their permission. Best case scenario - you won't get caught. But in the worst case scenario, the owner of the photo rights will find out and you'll be fined.
Now, some places DO grant permission (for example, "free" clip art sites), but if you choose to use images like these, do so with caution. They could still be stolen from he original owner. When in doubt, save yourself the grief by paying for the rights. Not only does this support small artists trying to make a living on their work, it could save you a really hefty fine later!
Let's Get Started!
Dial 0 for Directory Assistance...
We've been working with a flat directory structure so far, but it's time to add a little bit of organization. To do that in FileZilla, you just need to right-click on the lower right pane. Then select Create Directory from the menu that appears.
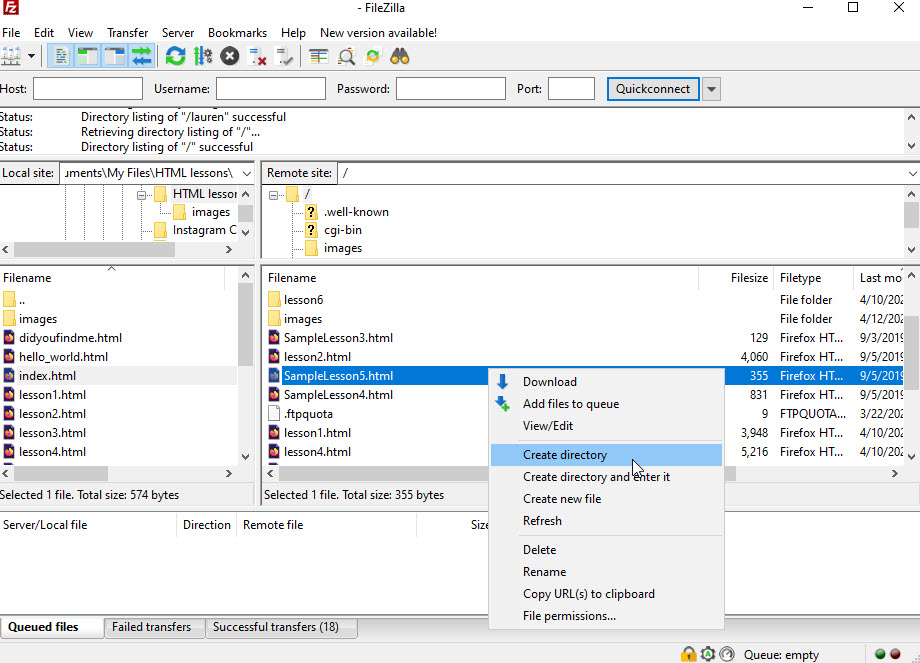
I used the super creative name, "images" to create a directory where I'll be storing my image files. Of course, your naming convention is up to you.
Pretty as a Picture
To add images to a page, we'll be using the <img> tag. Unlike the other tags we've worked with so far, the <img> is not a pair. That's because there's noting to actually mark up -- you're just inserting a picture.
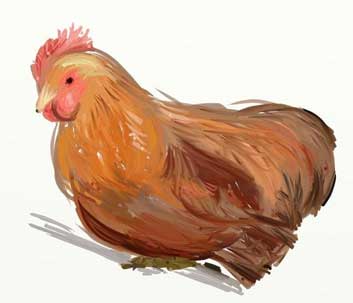
You will also need the source for your image (src). In this case, I loaded a drawing I made of a chicken to my images directory. Using the same convention that we learned in Lesson 6, I can identify the source directory as "images/chicken.jpg"
IMPORTANT TIP: Keep in mind that image source is case sensitive. So if I name my file chicken.JPG, but I put chicken.jpg in my source, the image won't work!
<img src="images/chicken.jpg" alt="chicken">
And here's my chicken picture!
ALTernate Universe
There was one little piece of information in the last section that I didn't talk about -- the "alt" tag. Have you ever had an image fail to load and wish you knew what it was? That's what the alt tag is for. It's a text description of your image that appears when the image fails to load. But maybe more importantly, the information in the alt tag is what screen readers "say" when they're reading a web page to a person with blindness or low vision. The little gray block below SHOULD have had my chicken picture in it -- but I purposely added a mistake to the name. Instead of the image, my alt tag appears ("chicken")

Here's what it would look like without the alt tag:
It's a little thing, but it means so much to people who are reliant on screen reading technology!
Putting Pictures in Their Place
There are a lot of cool things you can do to images with the style attribute. Probably the most important is using styles to wrap text around your image. To do that, you'll need the "float" property and the "margin" property. Float has two possible options -- right or left. So if you want your image to appear on the right side of the page, you'll use "float: right;"
The margin is a little more complicated. You couldset your margin to a number (let's say 10 pixels), but then the ENTIRE image would have a 10-pixel margin around it. That's where the more "fine-tuned" margin options come into play. These include:
- margin-left
- margin-right
- margin-top
- margin-bottom
To set my image up to float right and use a 10-pixel left margin, my code would need to look like this:
<img src="images/chicken.jpg" style="float: right; margin-left: 10px;" alt="chicken">
When you set an image up to have text wrap around it, it's best to place the image tag just before the paragraph you want it to align to. In this case, I stuck the image tag just before the paragraph beginning, "There are a lot of cool things..." That's why my chicken is floating just to the right of that paragraph.
You've Got Style
There are a few other neat tricks you can use to make sure that your image looks good. These include adjusting the width and using borders. For example, let's say that I want to create a thumbnail of my chicken picture. To do this, I'll need a smaller image. I also want to put a lottle border around it so that it looks like a tiny photo. To do this, I'll need the border property, the width property, and the margin property. In this case, I'm good with the margin going all the way around - so no need to specify left, right, etc. I just need to decide how big of a margin I want. For the border, I need three pieces of information:
- Line weight (in pixels)
- Type of line (in this case, "solid")
- Line color (in this case, a nice gray -- #ddd)
I want the image to be small - but not too small, so I chose a width of 150 pixels. Here's how the code looks:
<img src="images/chicken.jpg" style="width: 150px; border: 1px solid #ddd; margin: 10px;" alt="chicken">
And here's my little chicken thumbnail:
Lesson 9: Prove it
Let's add some pictures to this website, shall we?
- Access your root directory using FileZilla and create a subdirectory for your images.
- Add one or more images to your directory.
- Create a new HTML document and name it MyLesson9.html
- Add a paragraph of text.
TIP: When I need a paragraph of text but don't neseccarily have anything to say, I use a Lorem Ipsum generator like this one.
- Insert your image (make sure to use the alt tag!).
- Make your image float to the right of the paragraph and give it a left margin of 10 pixels.
- Insert your image one more time (or add a new one).
- This time, make it 150 pixels wide with a 10 pixel margin. Add a solid border with a color of your choosing.
- Add a link back to this lesson.
When you are done, save the file as MyLesson9.html and upload it to the folder with your name. You can check your work here. If you want to see an example of how this file might look, you can check mine out here.
Back to the lesson plan.